digital-services
May 02,2025 • 3 min read
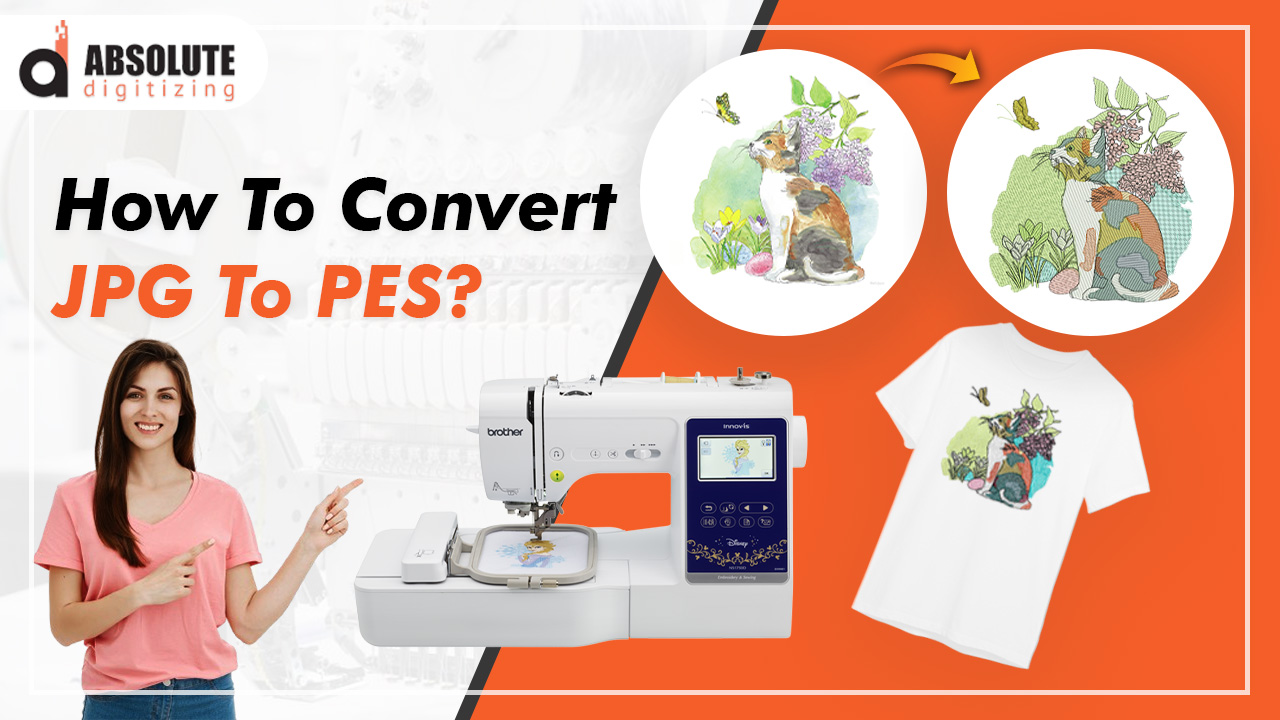
Step-by-Step Tutorial Convert JPG to PES Without Expensive Software
Introduction
Want to turn your favorite JPG image into an embroidered masterpiece but don’t want to spend hundreds on professional digitizing software? You’re in luck!
In this guide, we’ll show you three free and low-cost methods to convert JPG to PES (Brother embroidery format) without breaking the bank. Whether you're a hobbyist or just starting with machine embroidery, these techniques will help you stitch your designs with confidence.
Let’s dive in!
Why Convert JPG to PES?
Before we begin, let’s clarify why you’d want a PES file:
✅ Machine Compatibility – PES is the default format for Brother embroidery machines.
✅ Stitch Accuracy – Unlike JPG, PES files contain stitch-by-stitch instructions.
✅ Customization – Adjust stitch types, density, and colors for better results.
Method 1: Use Free Online Converters
Best for: Quick, one-time projects
Step 1: Choose an Online Converter
Here are some reliable free options:
- StitchFiddle (Basic free version)
- Embroideres.com (Simple upload & convert)
- SewArt Free Trial (Limited but functional)
Step 2: Upload Your JPG
- Go to the converter website.
- Click "Upload Image" and select your JPG.
Step 3: Adjust Settings (If Available)
- Select PES as the output format.
- Choose stitch type (Fill, Satin, or Running).
- Simplify colors if needed.
Step 4: Download & Test
- Click "Convert" and download your PES file.
- Test stitch on scrap fabric before final use.
Pros: No software needed, fast.
Cons: Limited customization, may not work for complex designs.
Method 2: Use Free Digitizing Software
Best for: More control over stitch settings
Step 1: Download Free Software
Try these options:
- Ink/Stitch (Free plugin for Inkscape)
- SewWhat-Pro Free Trial (Limited but powerful)
- MyEditor (Bernina) (Free basic digitizing)
Step 2: Import & Trace Your JPG
- Open the software and import your JPG.
- Use the auto-trace tool to convert to stitches.
Step 3: Adjust Stitch Settings
- Fill Stitches – For large color blocks.
- Satin Stitches – For outlines and text.
- Running Stitches – For fine details.
Step 4: Export as PES
- Go to File > Save As and select PES format.
- Transfer to your embroidery machine via USB.
Pros: More customization than online tools.
Cons: Steeper learning curve.
Method 3: Use Mobile Apps
Best for: On-the-go conversions
Step 1: Download an Embroidery App
Try these:
- Embrilliance StitchArtist Mobile (iOS)
- Sewing & Embroidery Apps (Android)
Step 2: Upload & Edit
- Open the app and import your JPG.
- Use auto-digitize or manual tools.
Step 3: Save as PES
- Select PES as the export format.
- Email or transfer to your machine.
Pros: Works on phones/tablets.
Cons: Fewer features than desktop software.
Final Thoughts
You don’t need expensive software to convert JPG to PES! Whether you use:
Online converters (fast & easy)
Free software (more control)
Mobile apps (on-the-go convenience)
…you can start stitching custom designs today.
Now it’s your turn! Pick a method, test it out, and bring your JPGs to life in embroidery.
Got questions? Drop them in the comments—we’re happy to help!
Ready to Start Stitching?
Try one of these methods today and turn your JPG into a custom embroidered design—no expensive software required!
Absolute Digitizing Details
User Profile
- Full name
- Absolute Digitizing
- Email address
- designer.absolutedigitizing@gmail.com
- Join Date
- 2025-05-02
- State
- NY
- City
- Queens, NY, USA
- Pincode
- Address
- 2849 46th St # 3,
- Follow us on Facebook
- https://www.facebook.com/Absolute.Digitizing
- Follow us on Twitter
- EMB_Digitizing
- Website Name
- https://absolutedigitizing.com/
- Bio